PowerShell modules on VSTS build agents
Visual Studio Team Services
Lately I started using Visual Studio Team Services to see how I can leverage it instead of Jenkins for projects/builds where I do not necessarily need any of the hundreds of community plugins that are available for Jenkins.
As most of what I do has to do with PowerShell I want to start blogging about some of my findings with VSTS and PowerShell.
If you do not know what VSTS is, then here is a quick explanation:
VSTS is an Azure hosted service that provides teams with Project Management tools like Scrum/Kanban boards and backlogs, Packagemanagement feeds, and also Continuous Integration services and Release Management. Read more here
How to install PowerShell modules on Visual Studio Team Services CI
Whenever possible I try to use hosted build agents for my Continuous Integration (CI) services like Gitlab CI or Appveyor and VSTS CI is no exception here. I do not want the, quite considerable, overhead of maintaining and managing my own build agents. Part of that would be to first build them, create a process to on demand deploy/scale, then register and then after a build destroy them. This does not give me any actual value, so I do not want it.
One downside of such hosted agents usually is that I will not get full access to the file system, unless I containerise my build, which I probably could, but then again, usually, what is the point?!
Builds for PowerShell more often than not have external dependencies that thankfully nowadays we can quite easily install through PowerShell’s PackageManagement module (Install-Module).
An example of such an installation could look like this:
Install-Module -Name Pester
When trying to run this as part of a VSTS CI build we will promptly be greeted with this error message:
Install-Module : Administrator rights are required to install modules in 'C:\Program Files\WindowsPowerShell\Modules'.
Log on to the computer with an account that has Administrator rights, and then try again, or install
'C:\Users\buildguest\Documents\WindowsPowerShell\Modules' by adding "-Scope CurrentUser" to your command. You can also
try running the Windows PowerShell session with elevated rights (Run as Administrator).
We are not administrators on these hosted build agents (for good reasons) and as such we cannot install a PowerShell module into the AllUsers scope. Refer to the official documentation for the -Scope parameter: MSDN Install-Module
The correct way to install a PowerShell module is this:
Install-PackageProvider -Name NuGet -Force -Scope CurrentUser
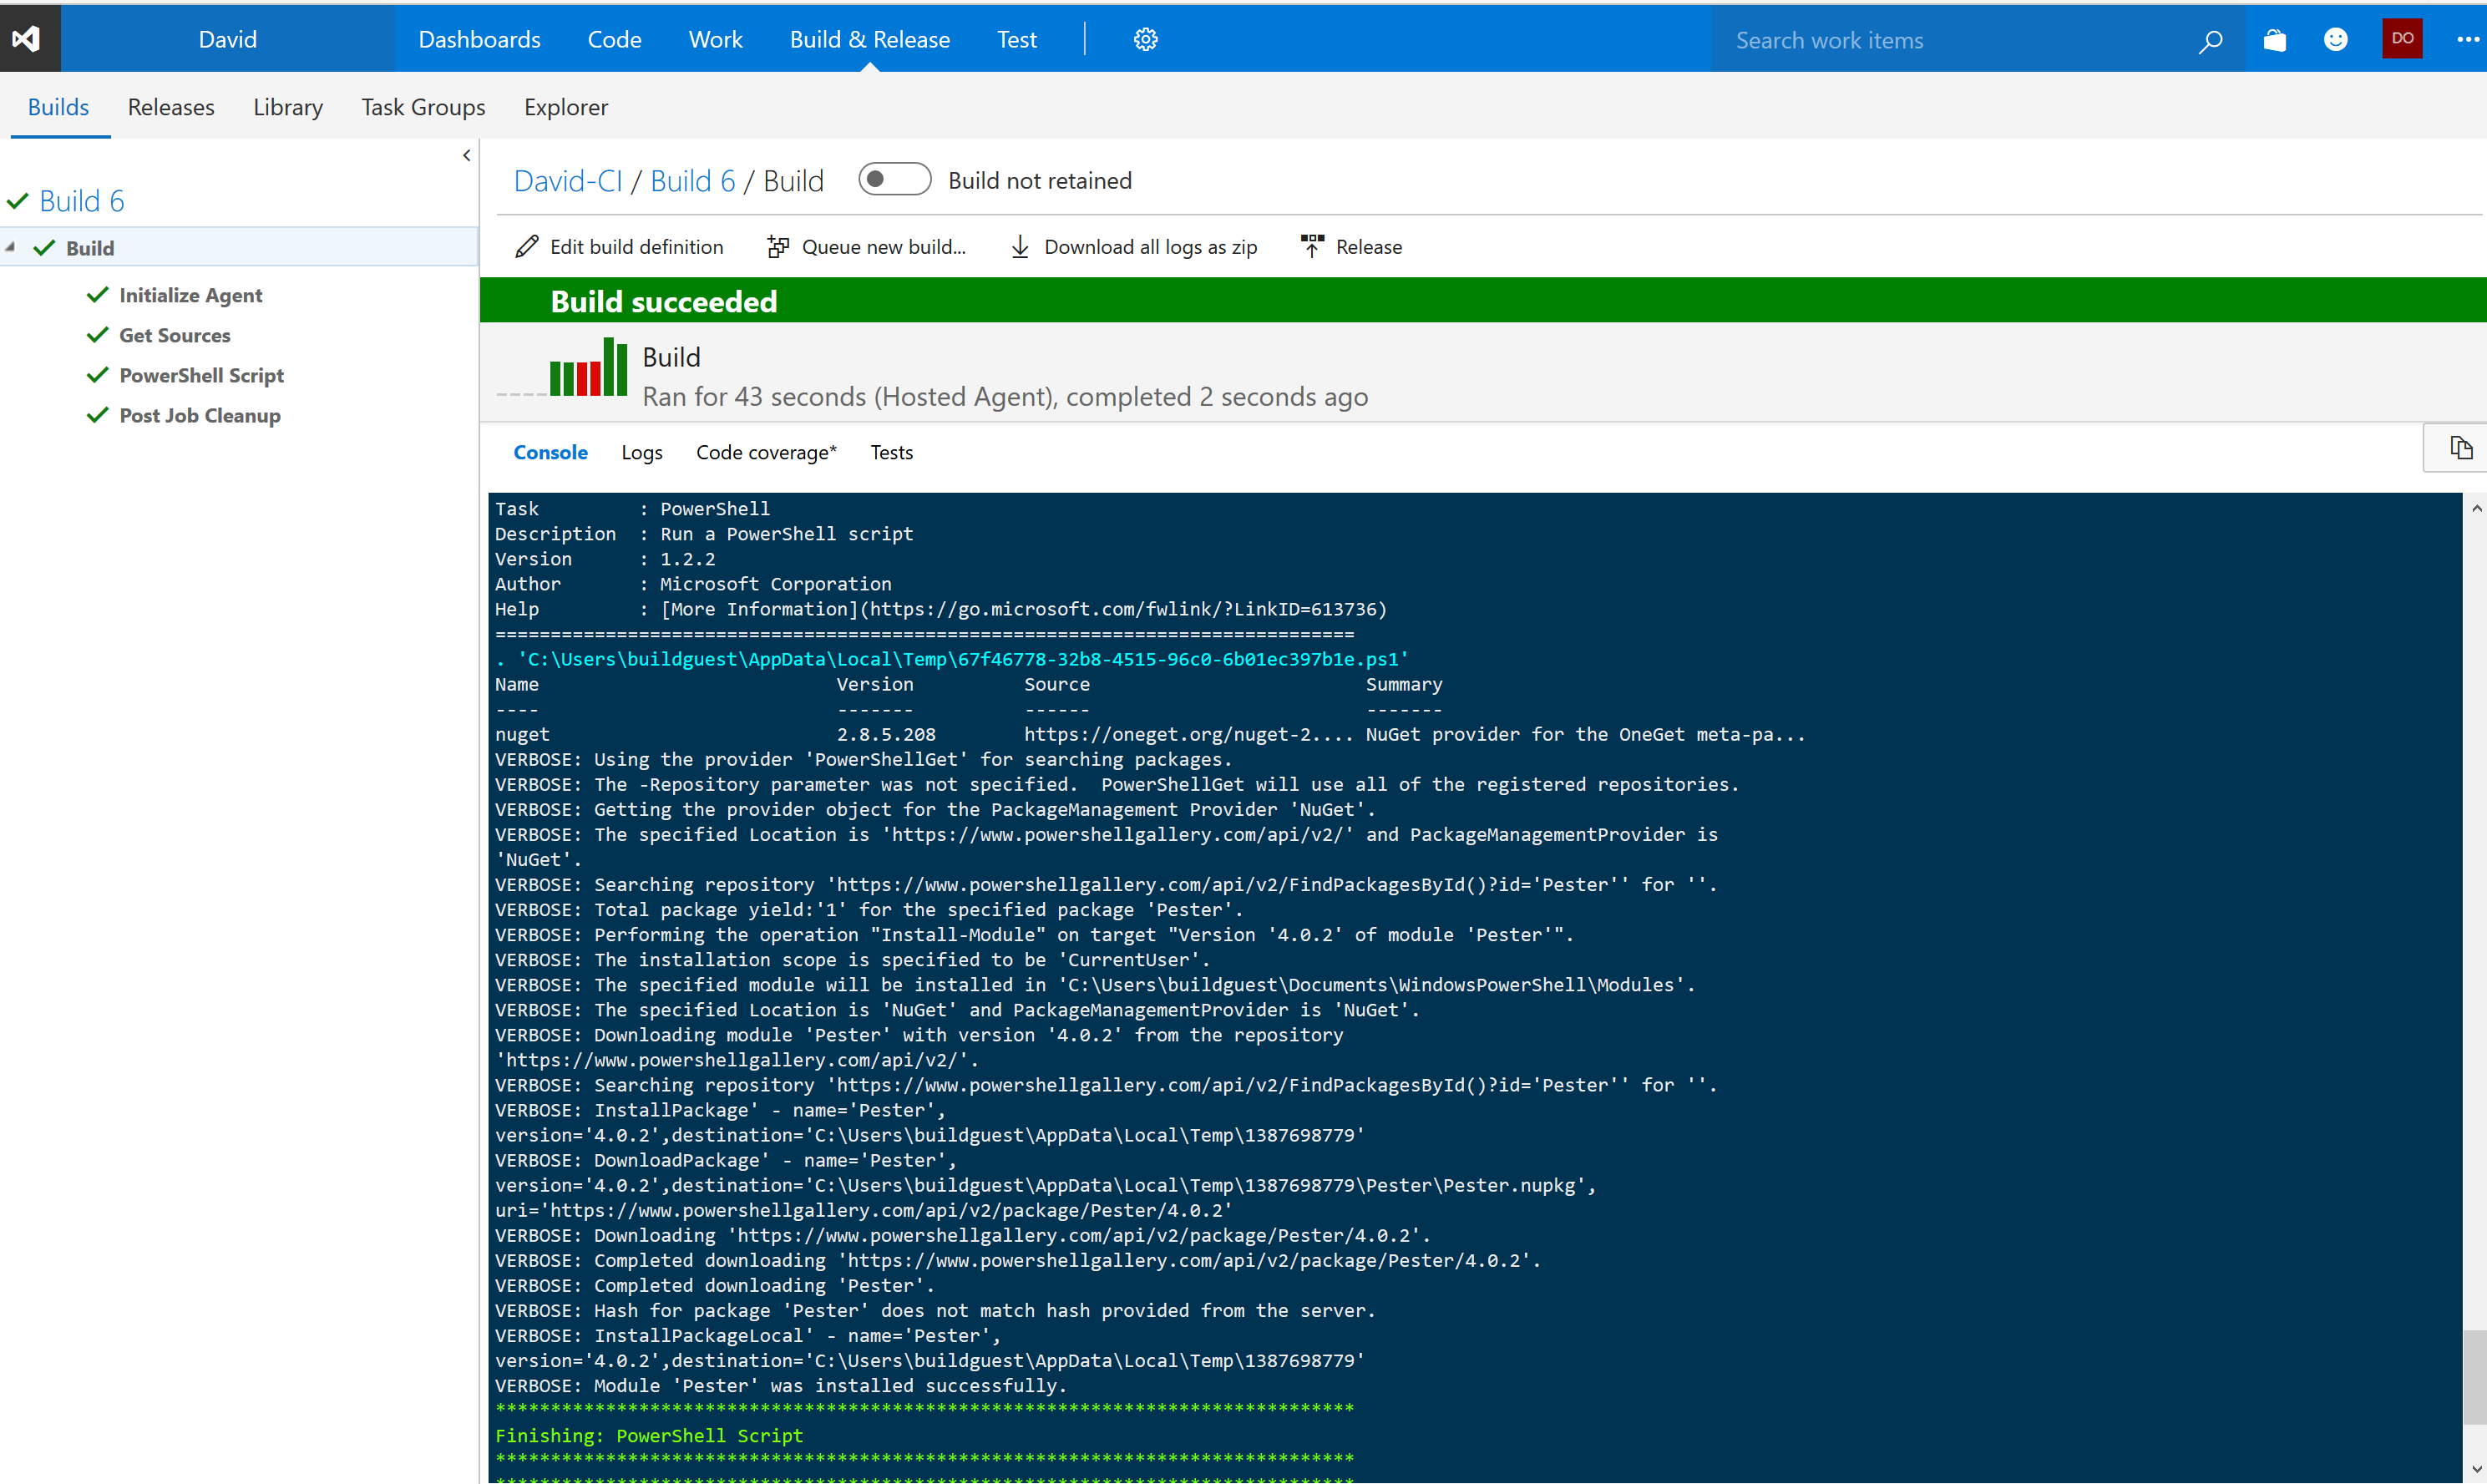
Install-Module -Name Pester -Force -Verbose -Scope CurrentUser
The first step will install the nuget.exe into our user’s scope, and the second step installs the PowerShell module “Pester” into C:\Users\buildguest\Documents\WindowsPowerShell\Modules\Pester. For this we do not need administrative permissions and our build will continue beyond this step.


Leave a Comment